Sunday, January 29

Love Sign!


My little sister is getting married and I so wanted to do something cute for her wedding shower.  I made this a couple of weeks ago but wanted to wait until after I gave it to her since she is a follower of my blog and I didn't want her to see it before hand.  I found this quote on pinterest and knew that it would make a great sign for her and their home together. 
Supplies needed:
white acrylic paint
vinyl letters cut out in the saying (2" for the LOVE YOU and 3/4" for the rest)
board - I used an old drawer front that I found at the Habitat for Humanity.
Patience!  - it takes a lot of it for placing the letters and then peeling them off.

I cut out the vinyl letters using my cricut but I will probably find some stickers for the next time I try this.  Lay them out on the board the way that you want them.

Second, I painted over the stickers and everything using white acrylic paint and a foam brush.  I put a couple coats on since the drawer was a cherry finish. 

Third, peel off the stickers carefully since the paint does want to come up a little.

Last, I sanded the edges and distressed it a bit. 

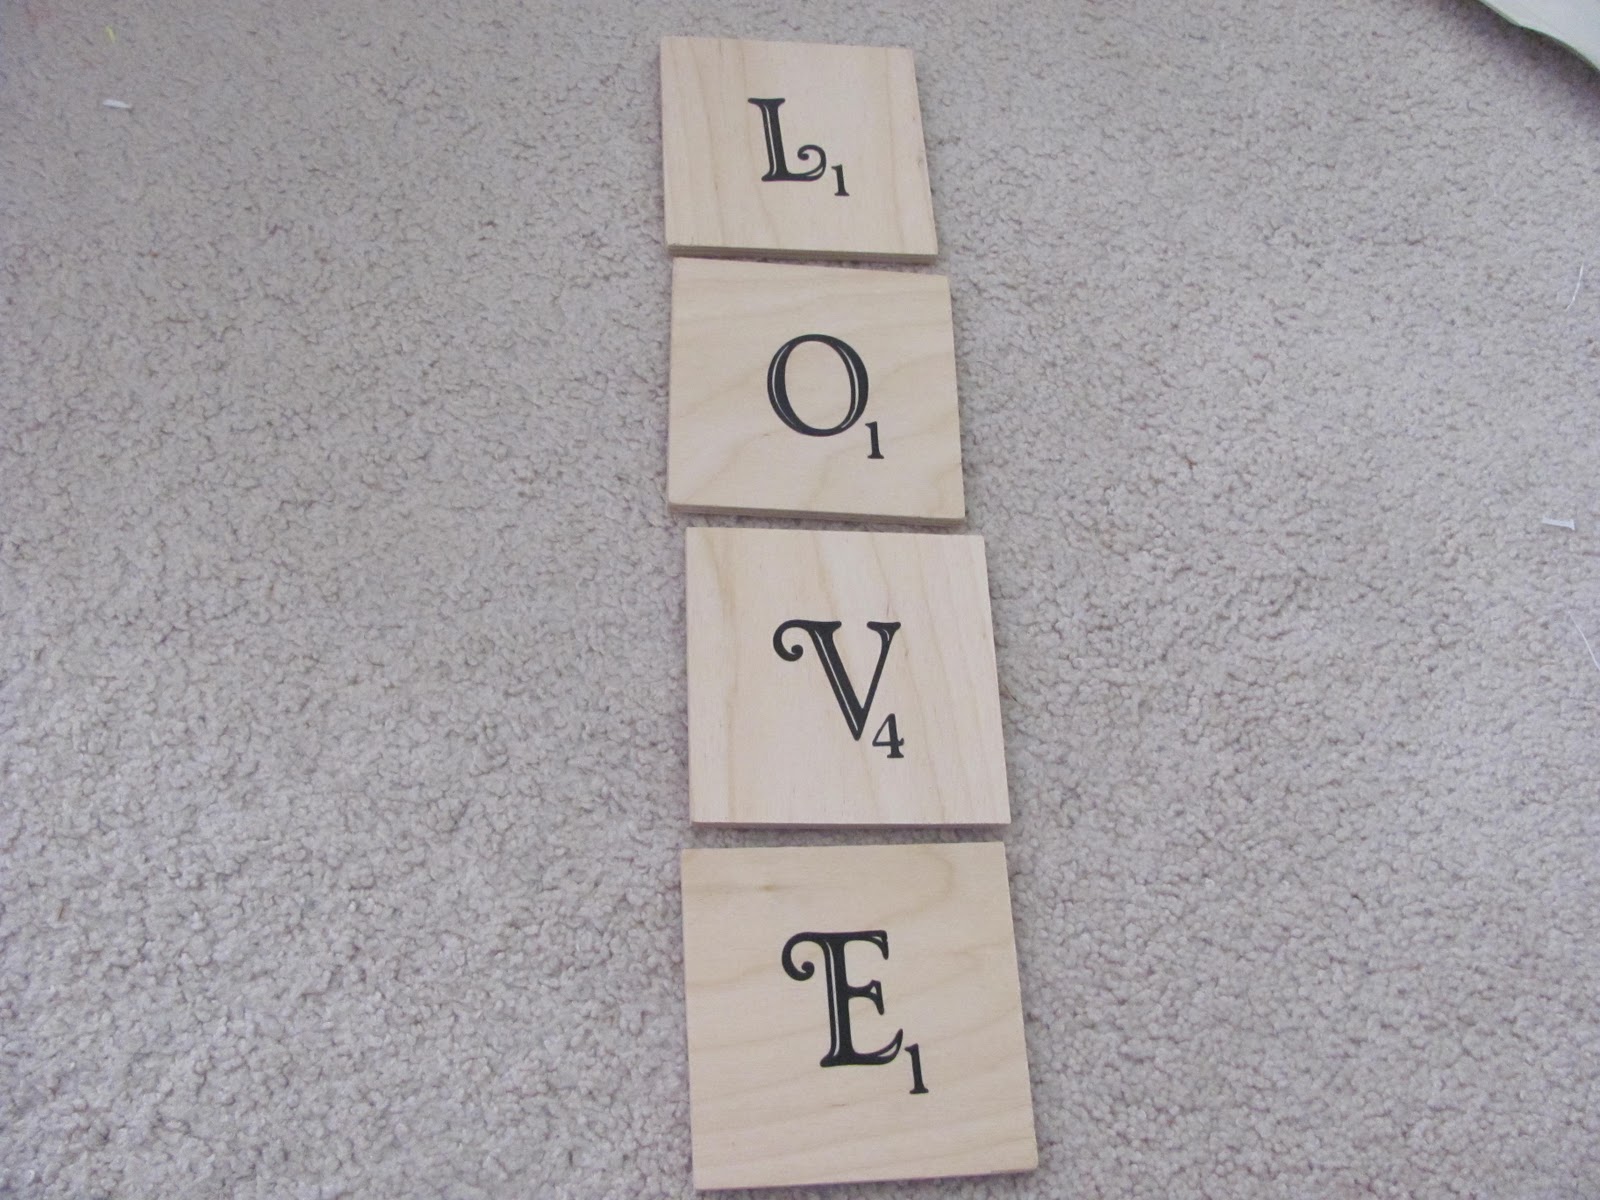
Finished!  I can tell you that I love how this sign turned out and would do it again.  This last picture has some LOVE scrabble tiles that I made for her too. 

Enjoy your crafting!

Friday, January 20

Tulle Valentine Wreath!


So I found some darling tulle that was a hot pink with little hearts on it and I wanted to make something for my little girl but then I knew that I needed to make some decorations for Valentine's day and I have been seeing wreaths made from tulle around for ages and thought I would try it for Valentine's day. Here are the supplies I started with:


I show some burlap with the picture but I didn't end up using it.  So I cut lengths of tulle from the white, pink, and hot pink and tied them on the frame.  I made a heart out of popsicle sticks and it didn't turn out - call it a huge miss to put on the wreath with it but I think it looks great the way it is.  It was an easy craft and as my husband says it is a little foo fooey but I like it.

By the way, here is a picture of the heart miss in case you can give me any hints on what to do with it......

Enjoy!

Wednesday, January 11

Kiss Countdown!


As I was browsing the world of pinterest, I came across a Valentine's Day Countdown.  It only stands to reason that soon the world would want a countdown for other holidays besides Christmas so I might as well make one.  So the Kiss Countdown was created.  I used an idea for the countdown from my sister's Christmas countdown over at Craft Affection. 

I found an scrap piece of wood, scrapbook paper, modge podge, ribbon, and here we go!

Supplies needed:
Board (3" x 9")
Scrapbook paper - 2 3/4" x 8 3/4"
                              2 1/4" x 8 1/4"

Letters used were 2"
Modge Podge
Tulle cut to 30" long

First I modge podged the scrapbook paper, hearts, and letters on the board.

Second, I tied the Hershey Kisses in the tulle and attached it with hot glue to the back of the board. 

Last, I put a loop of ribbon on the top of the board to hang it.  That's all!  Cute and the kiddos will have 14 Hershey Kisses to fight over until they get their Valentines!

I hope you enjoy the craft and venture into the Countdown for other holidays too.
Linking to:

Tuesday, January 3

Scrabble tile LOVE!

I love to play scrabble and the simple design of the tiles so when I started to see some crafts in the blogging world using scrabble tiles, I feel in love.  I wanted to use the scrabble tiles but wanted them a little larger so I decided to make my own.  I used a piece of craft wood that you can buy at any craft store and cut it to square lengths as you can see in the picture below:
I then got out my Cricut machine and cut the letters and numbers for the tiles.  I used vinyl but you could use any paper and then just modge podge it on.
After that, I struggled for a minute on what to connect the tiles with but remembered a Valentine craft my sister did over at Craft Affection and decided to use ribbon.  I could not find any tacks like she used for her crafts to I got out my trusty hot glue gun and glued the ribbon/lace on the back of the tiles.
Last but not least, I made a loop of lace for the top to hang the finished product and added a bow of the same lace so I could highlight the lace a bit more.  Here is the finished product on my wall. 

I planned on making this for my booth down at Signs and Wonders but decided it is too cute and I will have to keep it.  I made it for Valentine's decorations but it is not overly pink and red so I can use it all year round.  Hope you enjoy the craft and let me know what you think!


Linking too:
Today's creative blog
My Uncommon Slice of Suburbia
Skip to my lou
Someday Crafts
Gluesticks
Somewhat Simple